Tuesday, December 29, 2015

Cleaning up the plastics of the Harley Benton

Probably one of the most obvious telltale signs of cheapness is poorly sanded plastic moldings with flash around them. They look bad, they feel bad, but luckily in most cases they're very easy to clean up, and the results can be rewarding, both in terms of comfort and in terms of looks. So that's an easy place to start. Let's take for instance this bridge pickup ring here:
Flash on both sides.
Of course...
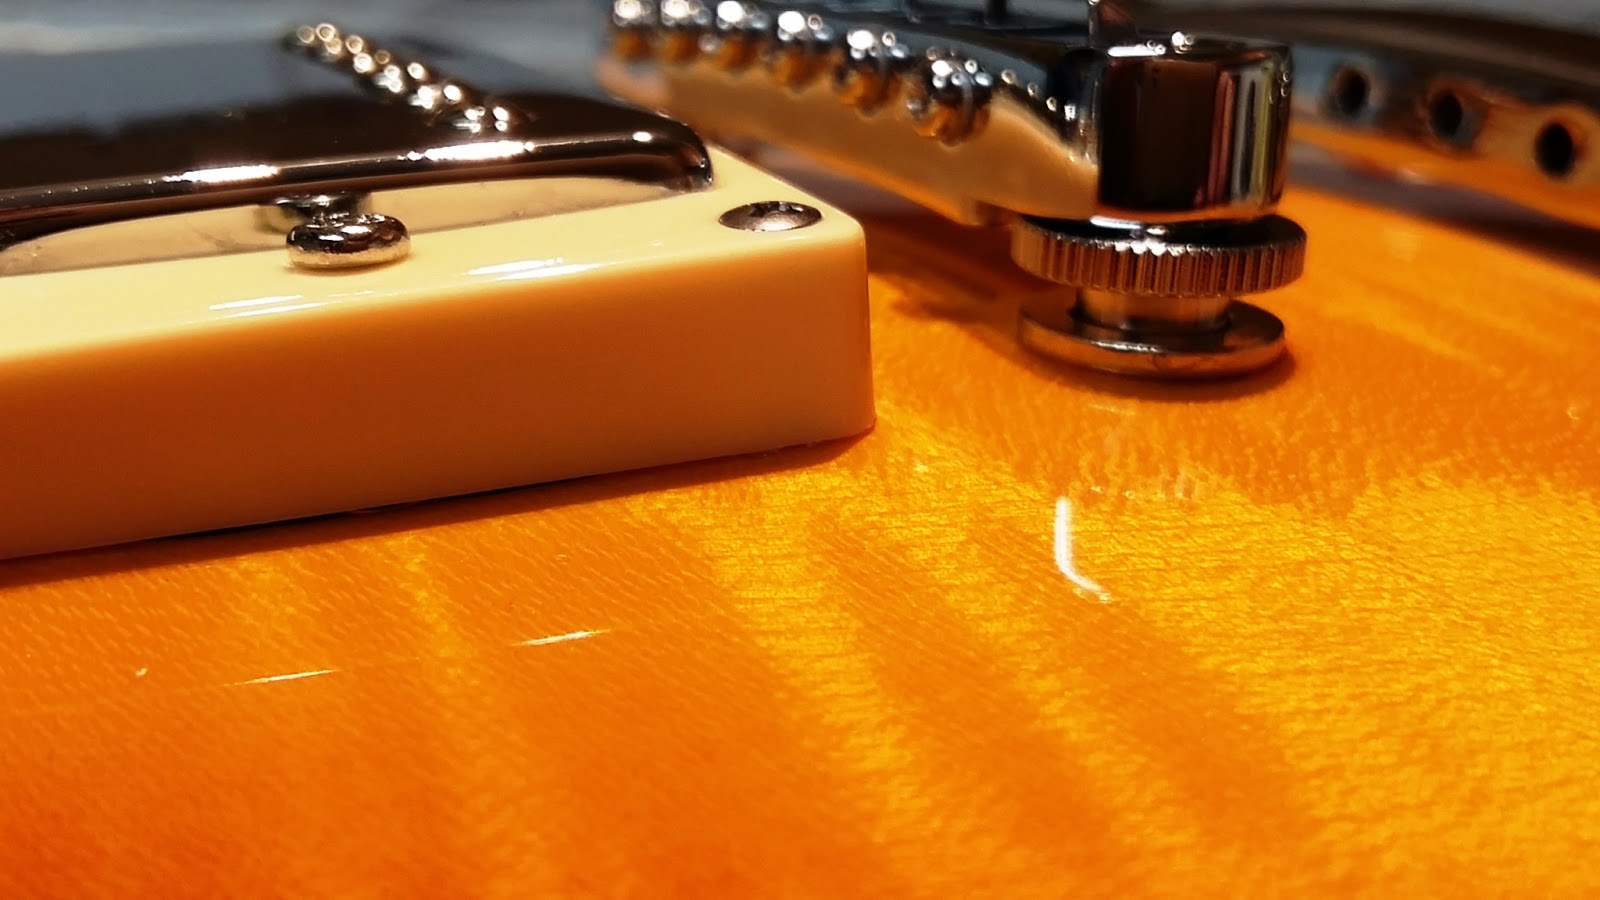
...to get those off properly, you need to dismount the ring from the body, and to be able to do that, you need to unstring the guitar. So be it, I would replace the strings anyway. Once the ring was dismounted (no need to remove the pickup, just lift it up slightly to gain access to the bottom of the ring without scratching the top coat of the finish), I took a thin blade to it and scraped off the flash on both sides. See how clean the upper edge got:
Much better already, ain't it?
The neck pickup ring also had some flash on one of its edges, the one actually right next to the neck. That's very obviously the remains of the bud that held the casting to the plastic frame during the molding process. It was only visible from very close up in the tiny recess between the neck and the pickup, but I did notice it and decided to remove it nevertheless, for two reasons: (1) as a matter of principle ("Sheldoooon", my wife would scold me for that kind of stuff), and (2) because like that the ring now sits perfectly flush with the edge of the fretboard, with no tension whatsoever. I like when cheap plastic rests without tension: they usually get brittle with age and they can break more easily under pressure.
There's that tiny piece of scrap just between the 5th and 6th strings' polepieces...
...and gone it is in about 10 seconds or so.
As said yesterday, I loctited the corner screws when mounting the rings back. And the same happened to the jack socket plate:
See the flash on the upper edge, right corner?
See it  no more.
That too got loctited back in place. After that, the last piece of cheap plastic I sanded clean was the switch tip:
The flash is barely noticeable but I'm a perfectionist.
What remained at this point was the plastics on the headstock (tuner heads and trussrod cover), but I'll come to those when I deal with the headstock altogether. In the meantime, another piece of plastic around the body which I chose not to fiddle with was the edge of the control cavity's cover because that dent right there above the middle screw cannot be fixed and it is on the back side of the instument anyway:
Notice that the edge of the routed recess in the body is also a bit messy, but as it is finished, I won't touch it either.
I also chose to ignore the "octave blemish" I had noticed on the fretboard binding, because it's basically an air bubble and sanding could only make it worse:
Those imperfect dots shall forever indicate about eleven and a half twelfths of the octave. I will survive.
Then I also left the scratchplate alone because simple as it was in its single sheet of plastic, it was actually fairly clean from the factory, and I'll be removing it anyway. It'll join many others in my spare box.

Finally I decided not to replace the pot knobs because they look very decent, with very crisp numbers and a cool silky sheen. Honestly they don't look any less good than original Gibson parts, their touch feels exactly the same when rolling them with the pinky, and as the pots work well, there's no point in dismounting them unnecessarily (not even to loctite their securing nuts -- I'll trust them to hold fast without it).
Those knobs are very neat, they can stay as they are. Note that the scratchplate is gone already, never to return.
Well, that's a good job done which didn't take very long but paid off nicely.

Coming up next: the toggle switch.

No comments:

Post a Comment